

Bunker E15 Legendary Lost Sector
Quick Links
- Modifiers And Recommended Loadout
- A Detailed Guide: Entrance
- A Detailed Guide: Cells
- A Detailed Guide: Boss Loonshit
Lost Sectors are the best means of farming Exotic armor in Destiny 2: Across Light thanks to the addition of Legend and Master difficulty variants. Europa and the Cosmodrome are currently the only two planets that support these new difficulty settings.
Bunker E15 is one of the Lost Sectors that supports these new difficulty settings and is i of the easier ones to beat. With a wave of security frames by your side, clearing out this Lost Sector takes piffling time at all. From recommended loadouts to strategies, here is a complete guide to completing the Master version of the Bunker E15 Lost Sector in Destiny 2.
Updated July 29th, 2021, past Charles Burgar: Season xiv's Antiquity mods have made Lost Sectors significantly easier to farm. If you're preparing for the side by side flavour, yous'll desire to exist farming this relatively easy Lost Sector on Europa. We've updated this guide with tables and a new table of contents section to arrive much easier to read.
Modifiers And Recommended Loadout
Bunker E15 is one of the easier Lost Sectors to complete due to the presence of friendly security frames. Hither are a few key modifiers tied to this Lost Sector:
Bunker E15 Modifiers
| Chief Difficulty |
|
| Champions |
|
| Faction Modifier |
|
| Destination Modifier |
|
| Primary Modifier |
|
| Burn |
|
| Shields |
|
Despite their beingness Void shields in this Lost Sector, simply one enemy has a shield. This makes loadouts rather flexible, although nosotros highly recommend you lot bring a Void Special or Heavy weapon due to this Lost Sector's burn.
With how small this Lost Sector is and the presence of Compunction, Swords are highly recommended. The Complaining is the best choice here, bypassing the Minotaur's Void shield while countering Bulwark Hobgoblins and dealing some cool impairment when used properly. Falling Guillotine is a great Legendary substitute if yous desire to use Eriana'due south Vow to damage the Hydra boss.
Bracket
| Hunter |
|
|---|---|
| Warlock |
|
| Titan |
|
Weapons
| The Lament | Deals excellent burst damage and counters Barrier Champions. |
| Falling Guillotine | Benefits from the Void singe, dealing fantabulous damage to Champions. |
| Eriana's Vow | Counters Barrier Champions and trivializes the Hydra boss. |
| IKELOS_SMG_v1.0.2 | Deals skillful damage, counters Overload Champions, and can spawn Warmind Cells. |
| Truth | An ammo efficient Rocket Launcher that benefits from the Void singe. |
Mods
| Clear-cut Blade | Swords deal 35% increased damage and recharge faster. |
| Global Reach | Warmind Cells have a larger blast radius. |
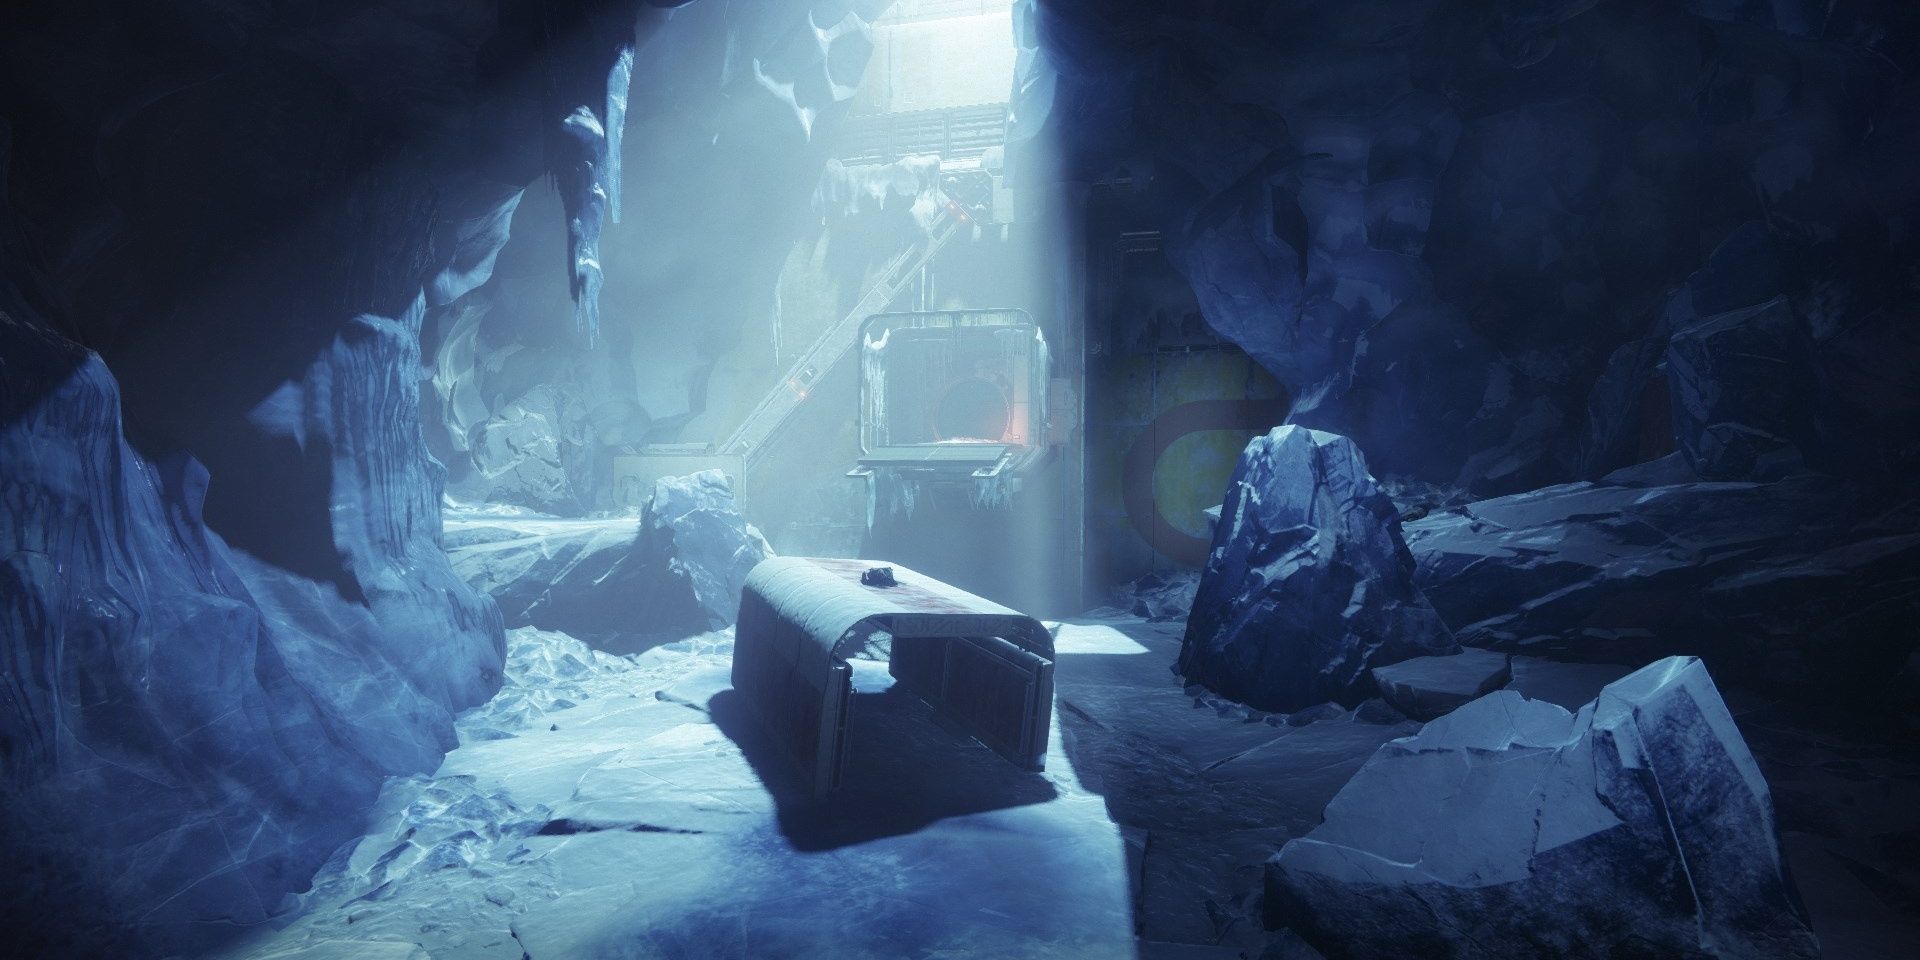
A Detailed Guide: Entrance
Entrance Enemies
- One Overload Captain
- Two Vandals
- Dregs
- Goblins
- One Minotaur
Right as you spawn in, take out the two Vandals on the right stone perch and central container. The Overload Captain and Dregs will begin to burn on your position. Use a grenade to accept down the Dregs, then stun the Overload Helm. Employ either a Sword or Truth to have him down. The door to the next section will then open.
Free the security frames stuck in the Vex cage before dealing with the iv Goblins. Head downstairs with your new security frames and take downwardly the Goblins and Minotaur below. If y'all don't have a Void weapon, use Lament to featherbed its shield. Use the newly unlocked door to reach the second major arena.
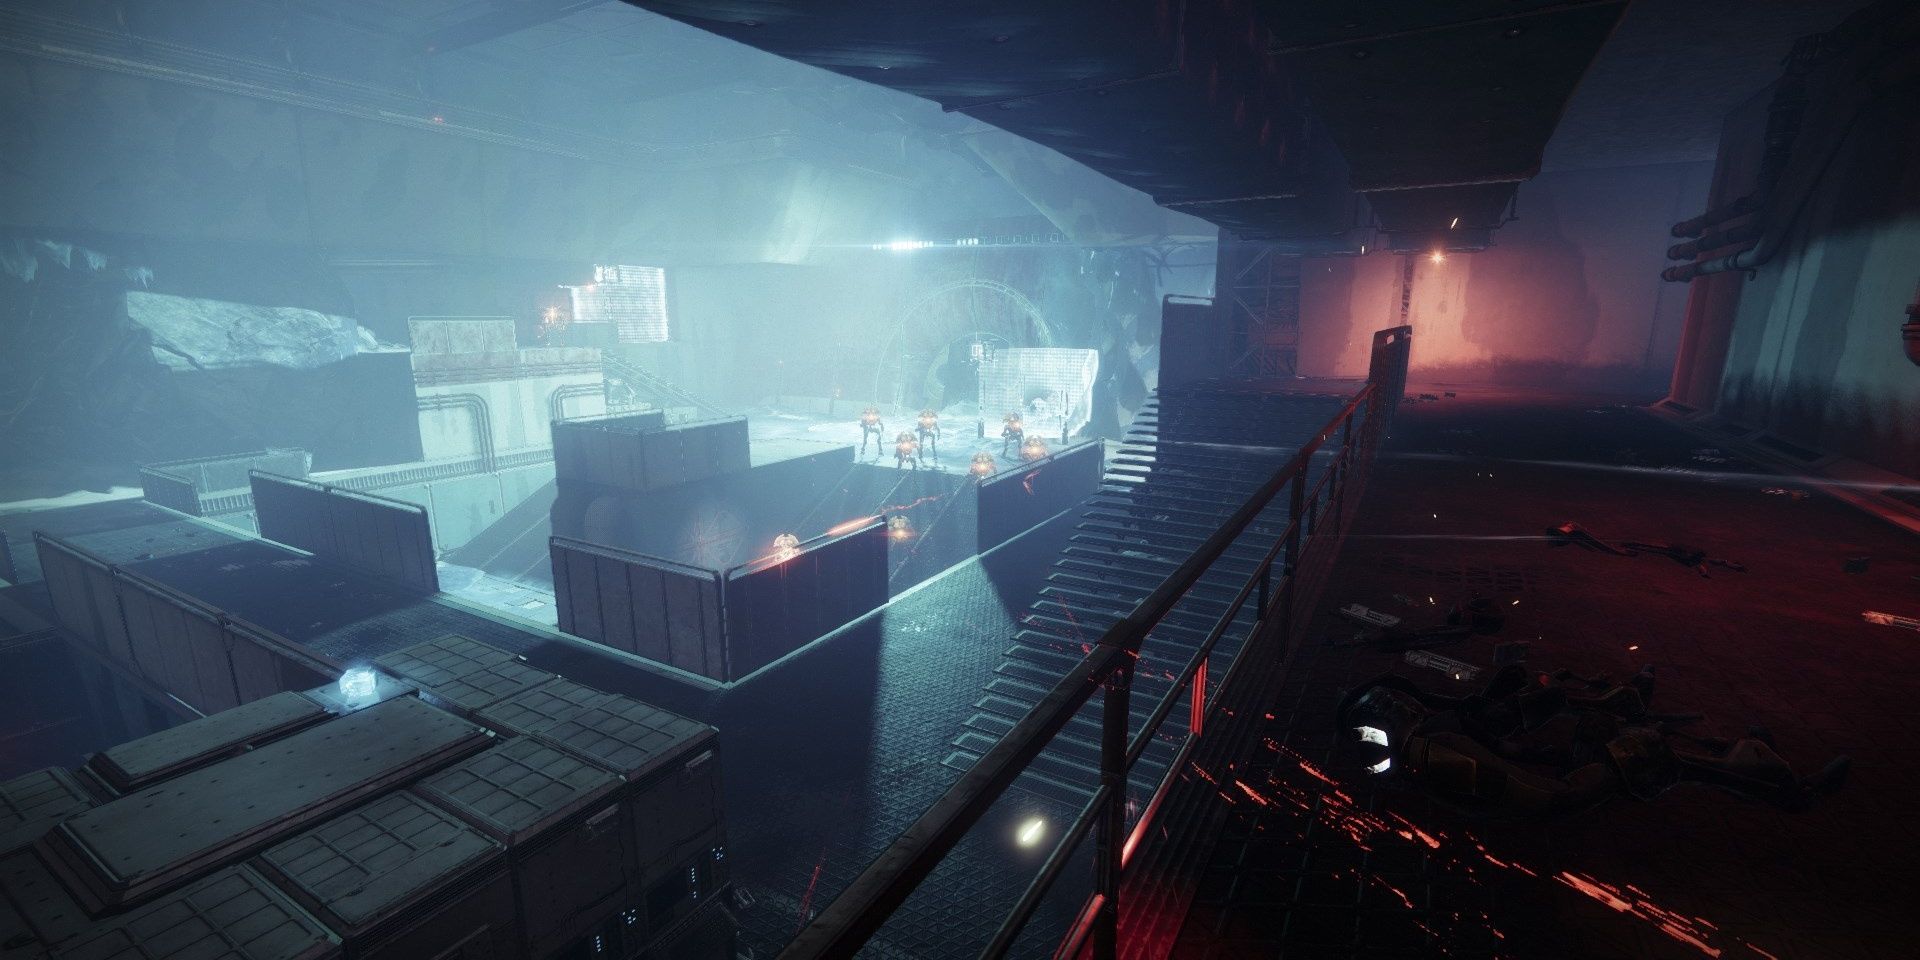
A Detailed Guide: Cells
Jail Cell Enemies
- Two Barrier Hobgoblins
- 2 Hobgoblins
- Goblins
- One Cyclops
Swing right upon inbound the room to find a pocket-size grouping of Goblins. Take them down with a Seventh Seraph or IKELOS weapon to generate a Warmind Cell. Detonate the Warmind Cell to unlock every Vex cage and impale the Hobgoblins overlooking the arena. Now you lot can safely bound upwards to the second flooring and take out the remaining Goblins, causing the second wave of Vex to spawn shortly afterward.
Among the second moving ridge will exist ii Barrier Hobgoblins and a Cyclops. Destroy the Cyclops from a altitude before facing the Champions. Harm the Champions alongside your security frames to forcefulness their shield to appear. Break the shield using Lament or any anti-bulwark weapon and kill the Hobgoblin. Exercise the same thing to the other Hobgoblin, then escort your small army to the boss arena.
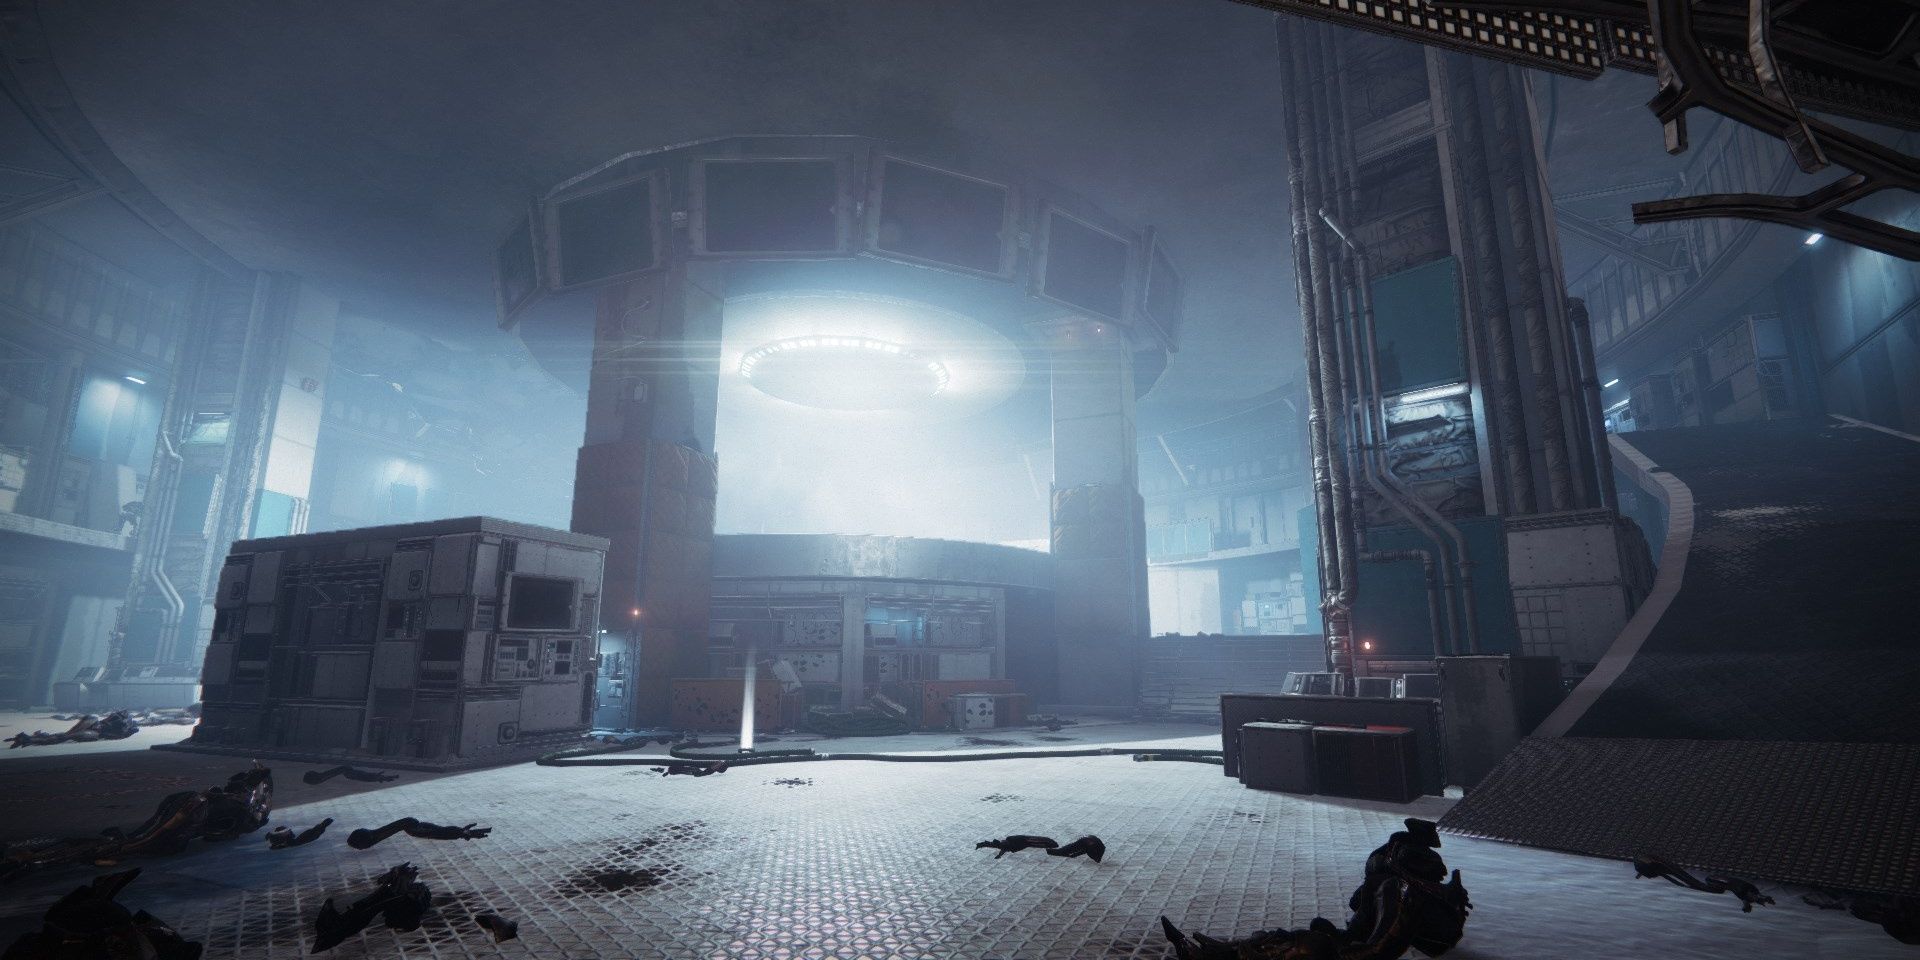
A Detailed Guide: Boss Arena
Boss Room Enemies
- Iv Overload Minotaurs
- Hydra dominate
- One Wyvern
- Goblins
- Hobgoblins
Accept note of the icy corridor that leads to the dominate arena; this is by far the safest area to kill Overload Champions in and harm the dominate from. Once inside the room, try to navigate to the sleeping Wyvern at the back of the room. Utilize a Sword to take information technology downward. If the security frames woke up the Vex, create some distance before fighting the Wyvern. Accept down all of the Vex inside to spawn the boss.
As the Hydra is spawning, run back to the icy corridor. An Overload Minotaur will spawn during this offset wave that yous'll need to impale. To get its attention, impale the Goblins that spawn virtually the corridor or shoot the Minotaur a few times. Lure it around the corner before disrupting and killing it. At present that the Champion is dead, use a long-range weapon like Eriana's Vow, Truth, or a Sniper Rifle to damage the Hydra. When it loses a third of its health, information technology volition teleport next to the corridor and spawn a fresh prepare of Vex opponents alongside nonetheless another Overload Minotaur.
Attempt to harm the Hydra as much as possible here to strength it to teleport abroad. Dealing another third of its health bar should force it to exit. Consequently, this will spawn one boosted Overload Champion, significant yous'll demand to defeat two at in one case. Defeat the Champions as before, luring them to the corridor before stunning and damaging them. At the final quarter of the Hydra'south health bar, one more Overload Minotaur will spawn. Impale this fourth and concluding Champion, defeat the Hydra, then loot the chest to complete this Lost Sector with a Platinum rating.
Source: https://www.thegamer.com/destiny-2-bunker-e15-master-lost-sector-guide/
0 Response to "Bunker E15 Legendary Lost Sector"
Post a Comment